

No products in the basket.
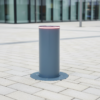
Automatic Rising Bollard Impact 220 Ø220 x 500 mm – Custom Colour
£849.00 excl. VAT
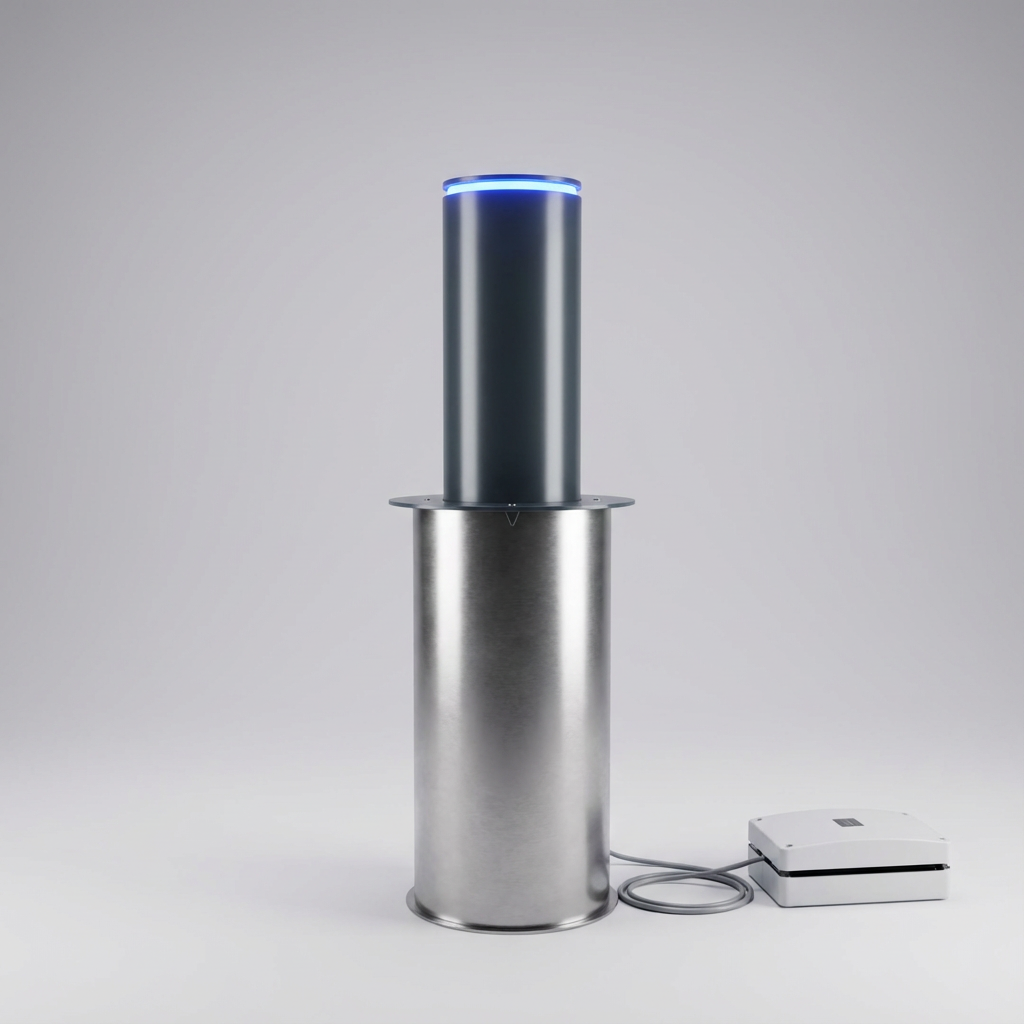
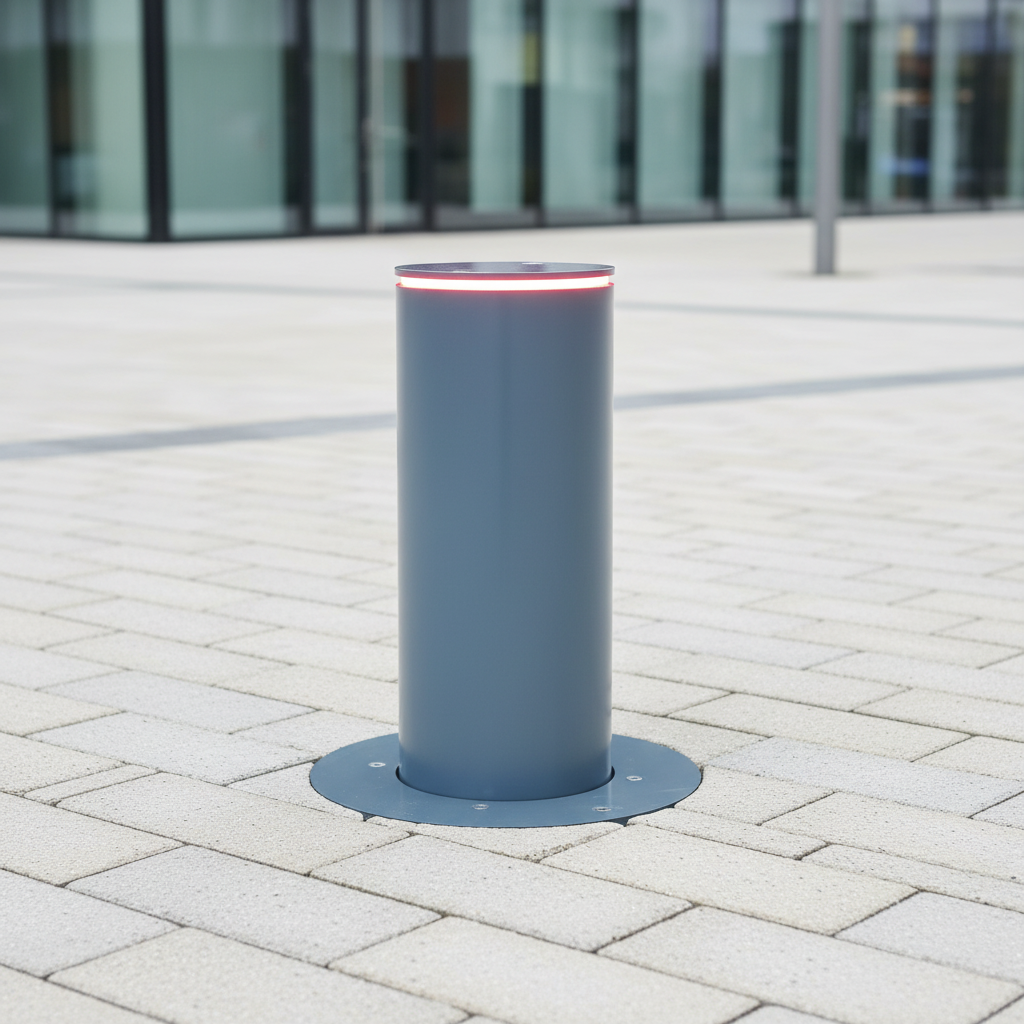
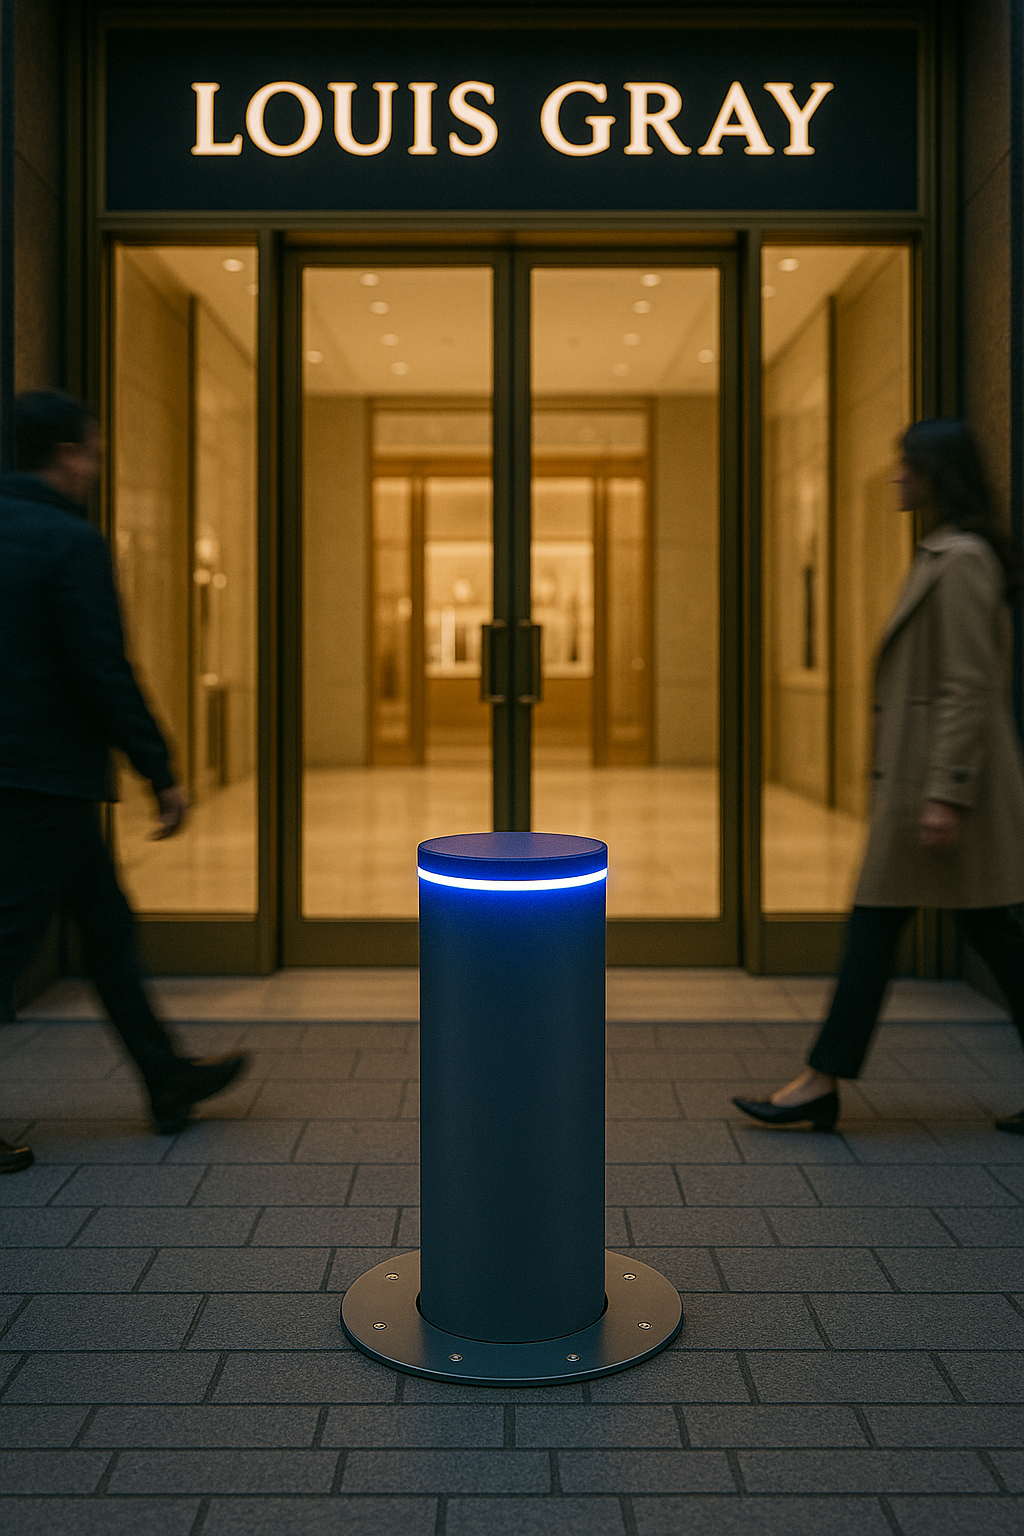
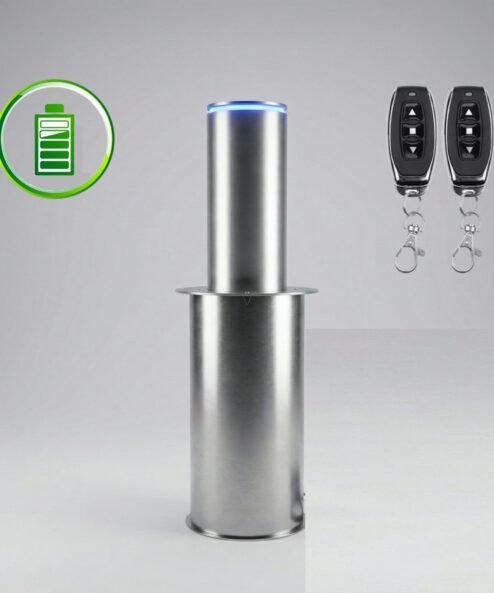
Impact 220 automatic bollard, Ø220 mm and 500 mm high. Includes 2 remote controls, optional mobile phone control and LED crown. Colour customisable, powder coated. Ideal for shops, jewellers, residential blocks and car parks. High quality at a competitive price.
Made to order in our Barcelona workshop: approx. 15 working days + 3–5 days delivery to the UK.
Delivered to the UK on DAP terms. Import VAT and duties are paid by the customer on delivery. Minimum order £135.
10+ units −5% · 25+ units −10%
Combine units of any bollard in the same order.
Combine units of any bollard in the same order.
- 2-year warranty
- Made in our own Barcelona workshop
- Secure payment by card, PayPal or bank transfer
The Impact 220 automatic bollard combines design, strength and advanced technology to deliver an efficient, elegant access control solution. With a diameter of Ø220 mm and a height of 500 mm, it is ideal for protecting shop fronts, jewellers, residential blocks, industrial units and private car parks.
The Impact 220 comes with 2 remote controls, with the option of adding mobile phone control (please request this in advance) for more flexible, convenient operation. A matching fixed bollard is also available, ideal for completing the look of shop fronts or permanently closed areas.
Made with a 4 mm thick powder-coated steel body, the Impact 220 bollard offers high resistance to weather and corrosion. The 2 mm stainless steel protective housing (ground sleeve) ensures a solid, professional installation. The finish can be customised in a range of colours with a professional-quality powder coat.
It performs excellently: rise time of approximately 8 seconds and lowering time of 7 seconds. The bollard is fitted as standard with a red LED crown, with the option of blue if preferred.
Carefully made, highly customisable and very competitively priced against other options on the market, the Impact 220 automatic bollard is the ideal choice if you want access control, security and good looks in a single product.
Installation guide
This applies to almost all of our automatic bollards. On the battery versions there is no cabling to run to the control panel: skip the corrugated duct and step 7.
What the kit includes: ground sleeve, bollard with mechanism, control panel and 20 m of cable.
Steps
- Hole: dig a hole 370 mm in diameter, with a recommended depth of 850 mm.
- Gravel: lay a bed of gravel at the bottom.
- Ground sleeve: measure the height of your sleeve (around 69 cm, depending on the model) and fill with gravel until, once it is in place, it sits flush with the road surface.
- Before concreting: seal the side junction box carefully so no cement gets in, as this is where you will make the cable connections later. Lay the corrugated duct, with a draw wire, from the sleeve to the control panel.
- Concrete: backfill around the sleeve with cement or concrete, flush with the ground.
- Curing: leave to set for 24 to 48 hours.
- Wiring: pull the cable through the duct. There are 4 wires: 2 for the LEDs and 2 for the motor. Connect the control panel following the markings in the instructions.
- Easy connection: lower the bollard into the sleeve, propping it up with two 50 mm wooden blocks, one on each side, so you can make the connections in the junction box without strain.
- Finishing: tidy the cables, remove the wooden blocks, lower the bollard, line up the threads and screw on the top cover.
- Test: run several up-and-down cycles. You can raise and lower the bollard with the remotes and the app, but not via WhatsApp. If your model supports it, pair the remotes and install the app following the manual.
Any questions? Contact us and we will be happy to help.
| Weight | 25 kg |
|---|---|
| Dimensions | 900 × 250 × 250 mm |
Related products
£619.00 excl. VAT
£559.00 excl. VAT
£1,019.00 excl. VAT
£649.00 excl. VAT